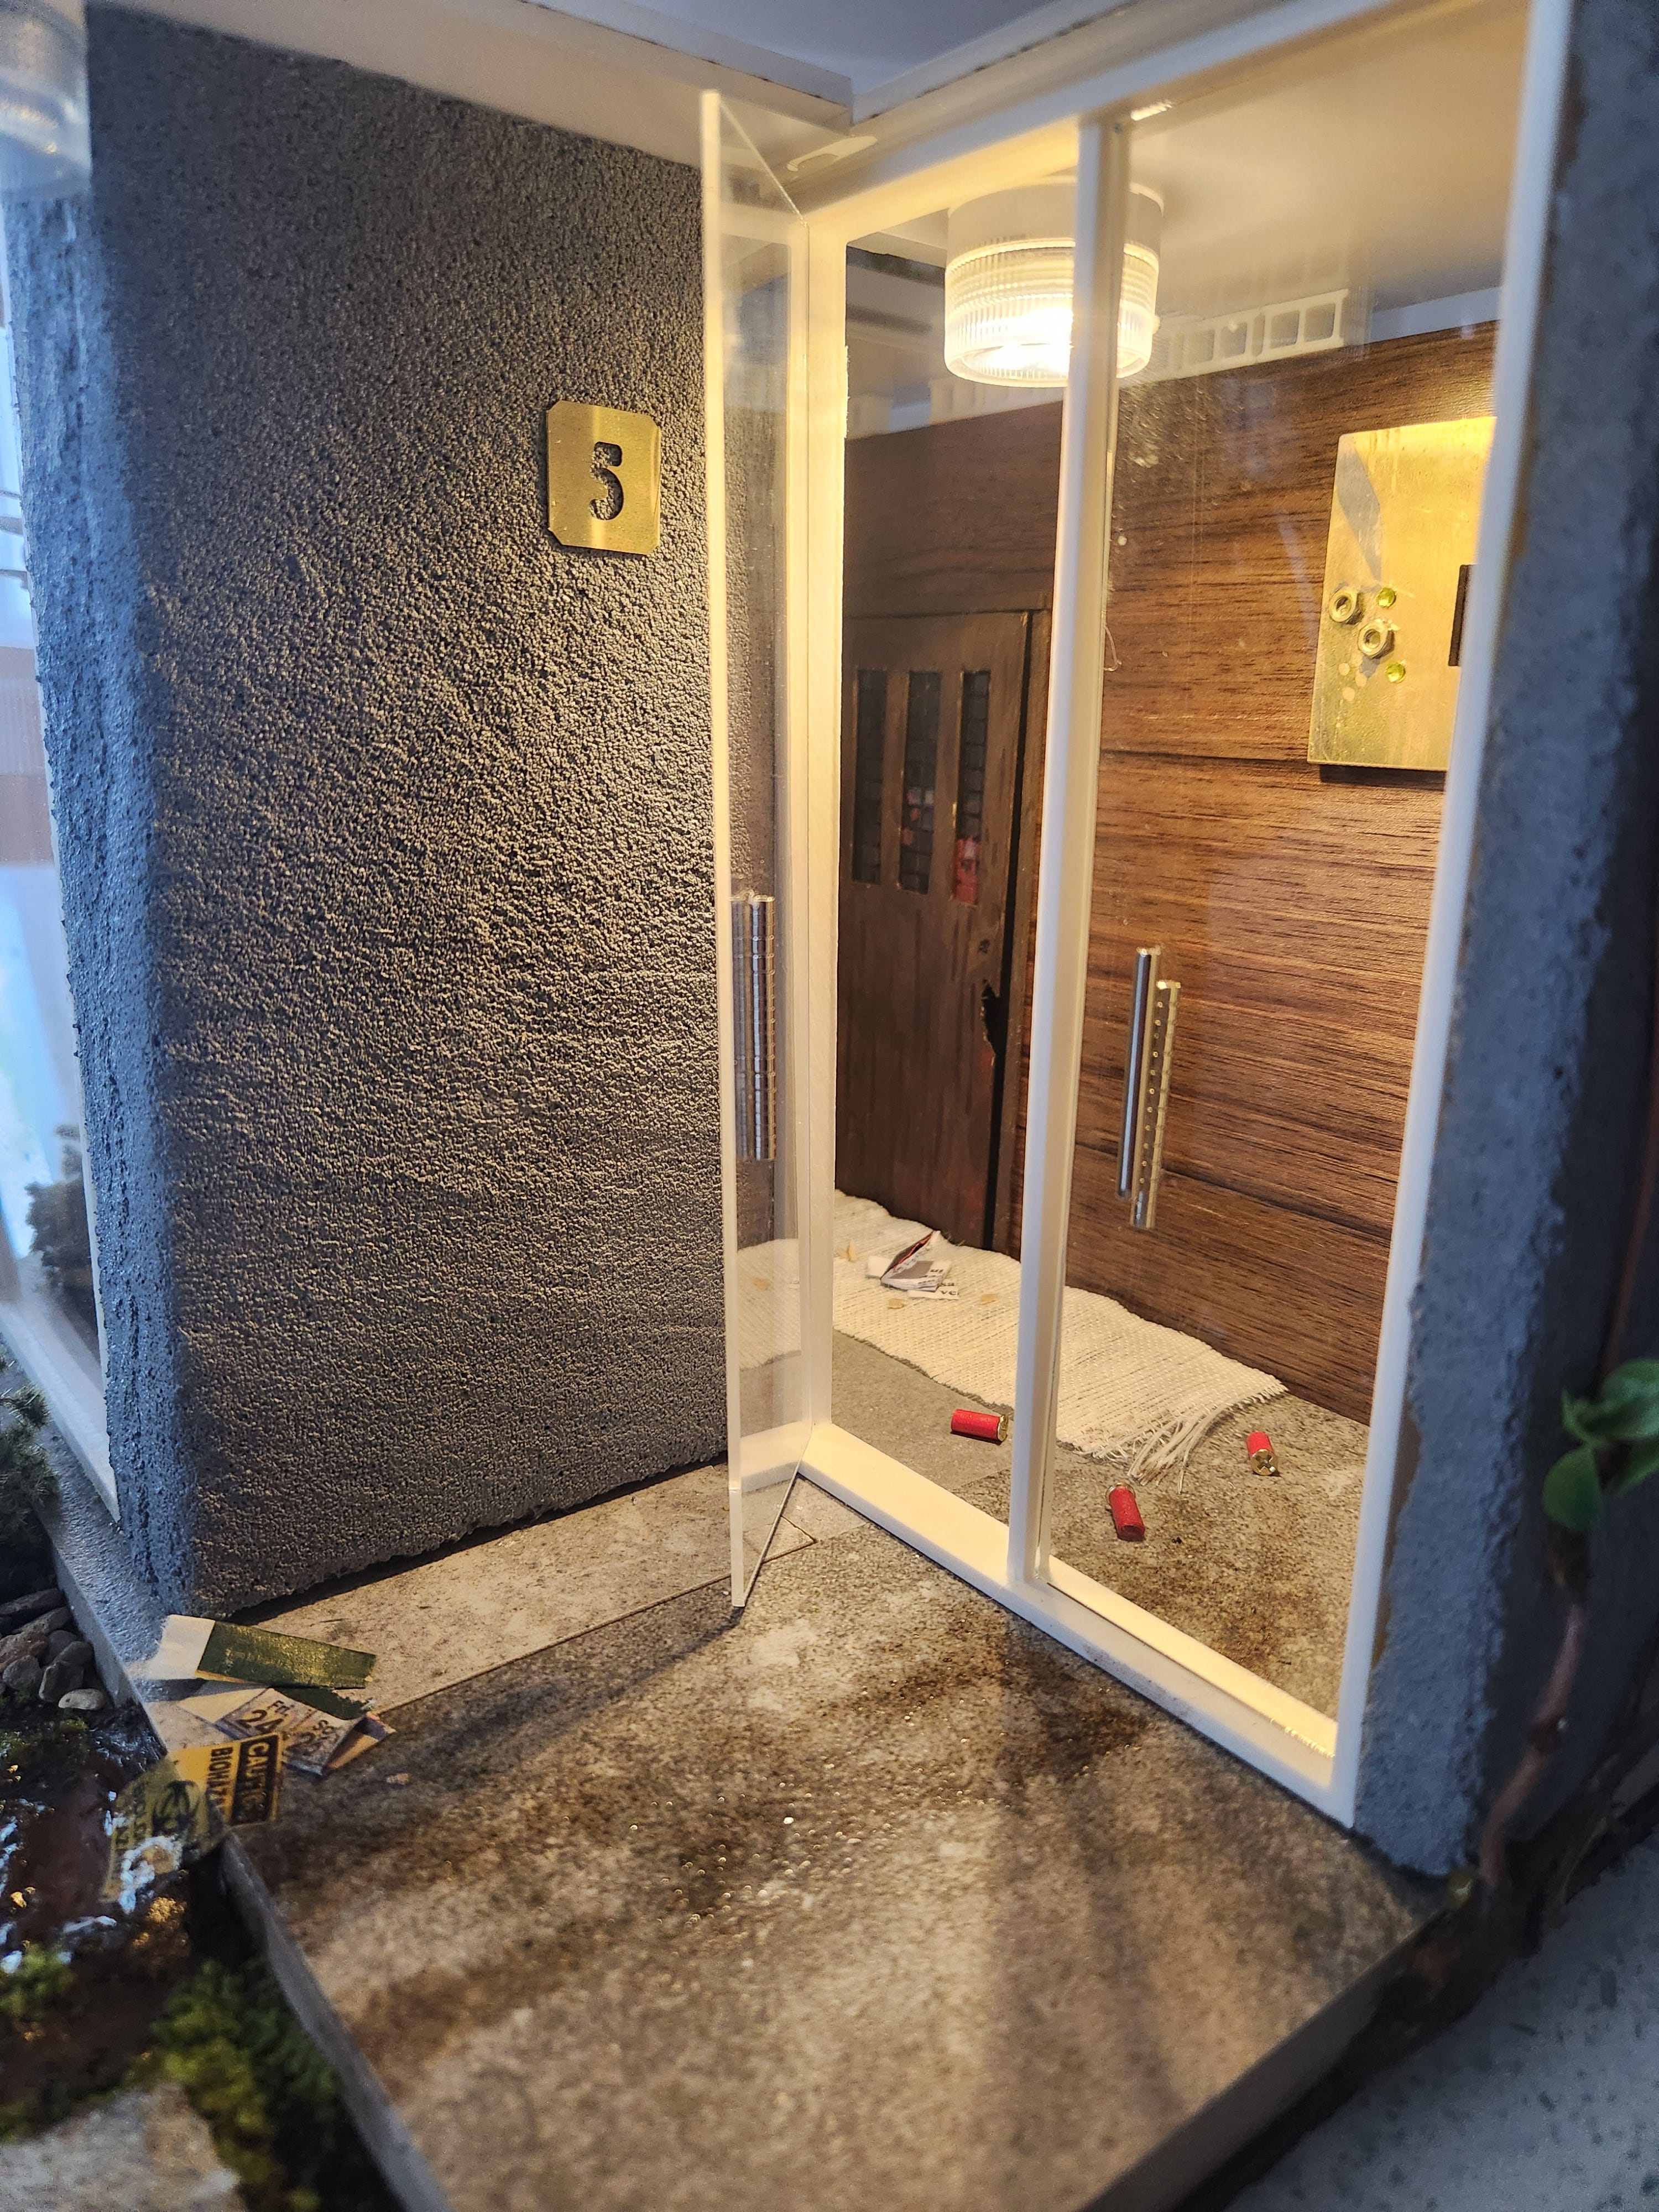
Biohazard House
Process Photos, Start to Finish

For the article about this project and its connection to family, motherhood, and Resident Evil, read this article: “Nothing Gory in the Living Room.”
My work largely upcycles materials that were trashed or otherwise discarded by others. I enjoy the constraints that introduces, and what I have at hand dictates the work rather than me buying supplies to fill gaps. Such constraints for Biohazard House included the wooden base (determined size), plastic squares, both opaque white and transparent (determined how I could fit the roof and skylights together), and pumice gel (determined the cement-style walls).
Stage 1 - The work begins
Materials were selected, and the base was put together using wood glue, which I found the most useful adhesive for this project. See that black bookend that held pieces together while glue dried? It’s one of those large, heavy ones from older libraries. Twas an excellent find!


Stage 2 - Cement Walls
I cut foam for the exterior walls and coated them with Coarse Pumice Gel (Golden brand). This created tan walls, which has me excited to try a beach diorama at some point, but gray paint was necessary for Biohazard House.
The first bullet mark in one wall was a total accident. My trowel pulled a piece of pumice loose, and rather than fixing it, I decided that shotgun shells would be added to the scene. A happy accident!


Stage 3 - Interior Design
Furniture and interior features were made from anything and everything. The lamp shades are toothpaste caps. The chair is a spongy, material sample I found, and the legs are pushpins. I used wood sheets to make tables and cabinets, and sample material packs for the carpets and wallpaper.


Stray screws and construction paper made shotgun shells. Clay, paint, and some prints created the Resident Evil umbrella and travel poster.


Miniature books were some of the most time-consuming objects to make.


Stage 4 - Interior and Roof Layout
Interior dividers and the roof were tested several times to place the skylights. The tiles involved needed to fit together just right to ensure natural lighting inside, because I didn’t want the diorama to be dependent on electric lights. The house also needed the illusion of depth, hence the interior door, and the roof needed structural support, which necessitated a half-wall made of plastic tubes.


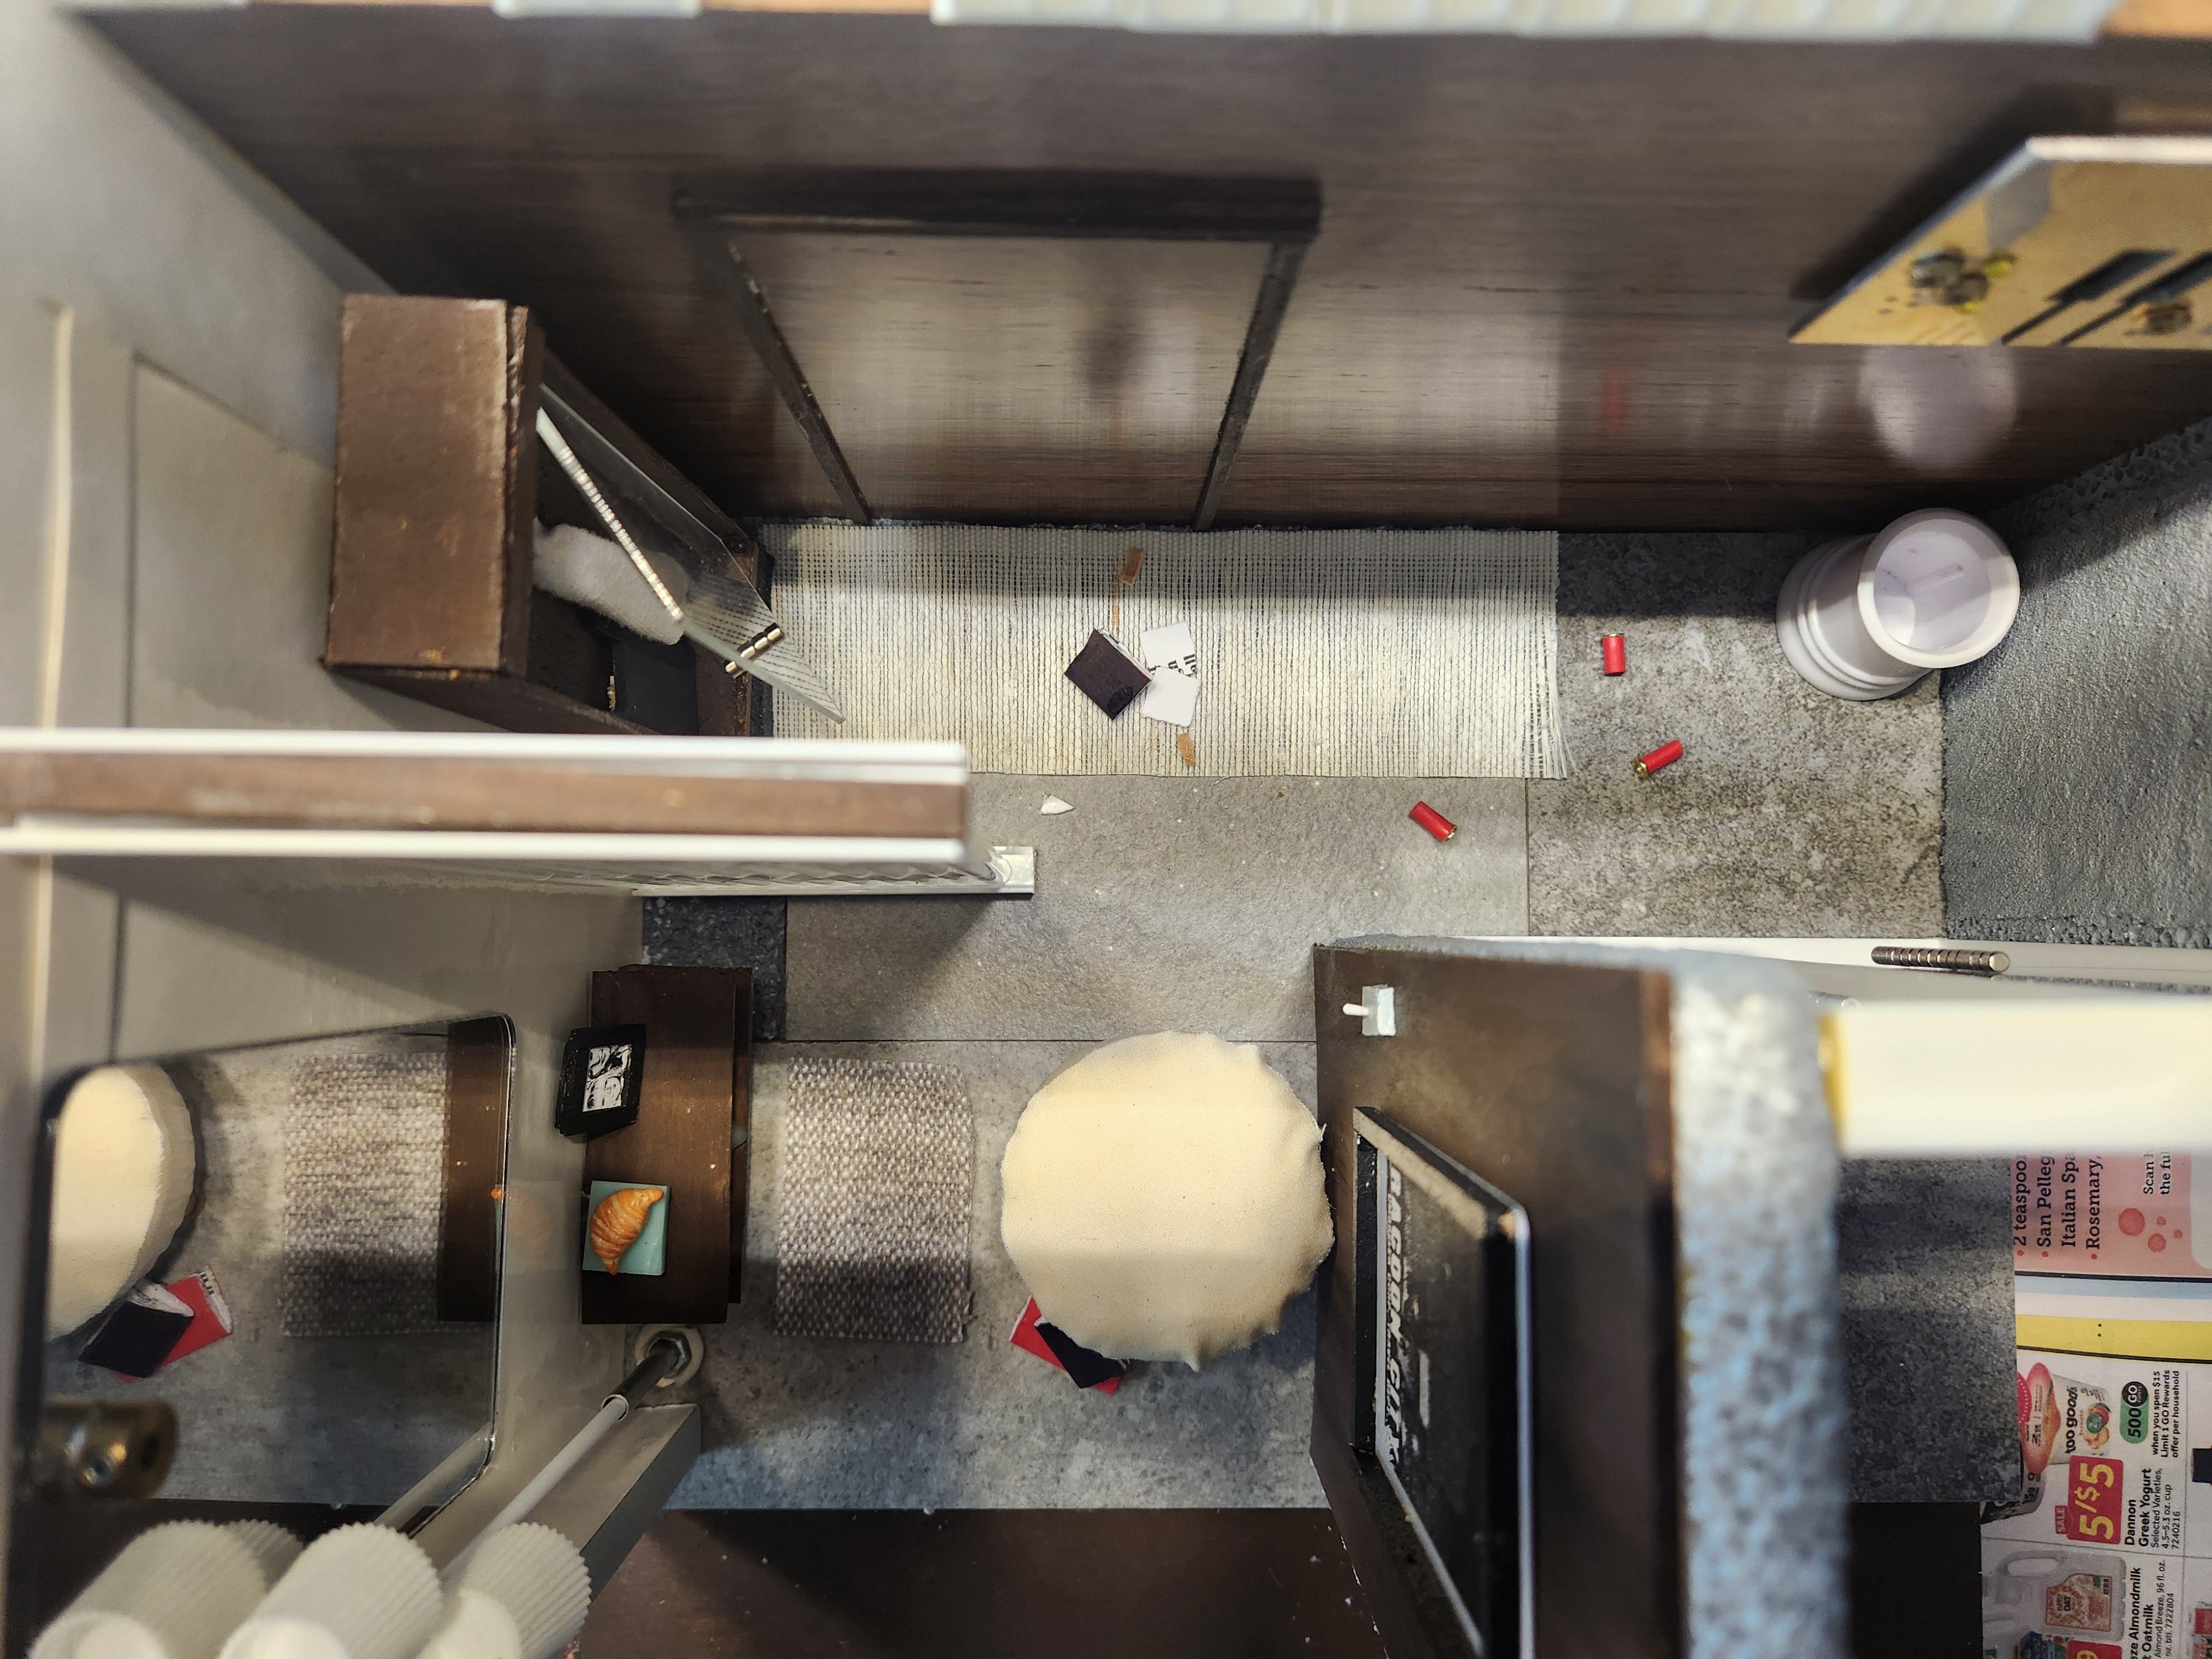


Stage 5 - Final Interior Details Before Sealing
The curtain is made of beads and a thin piece of fabric. I’m particularly fond of that, so am giving it a special callout. An open cabinet and spilled clothing, plus blood stains, were the final, final interior touches.


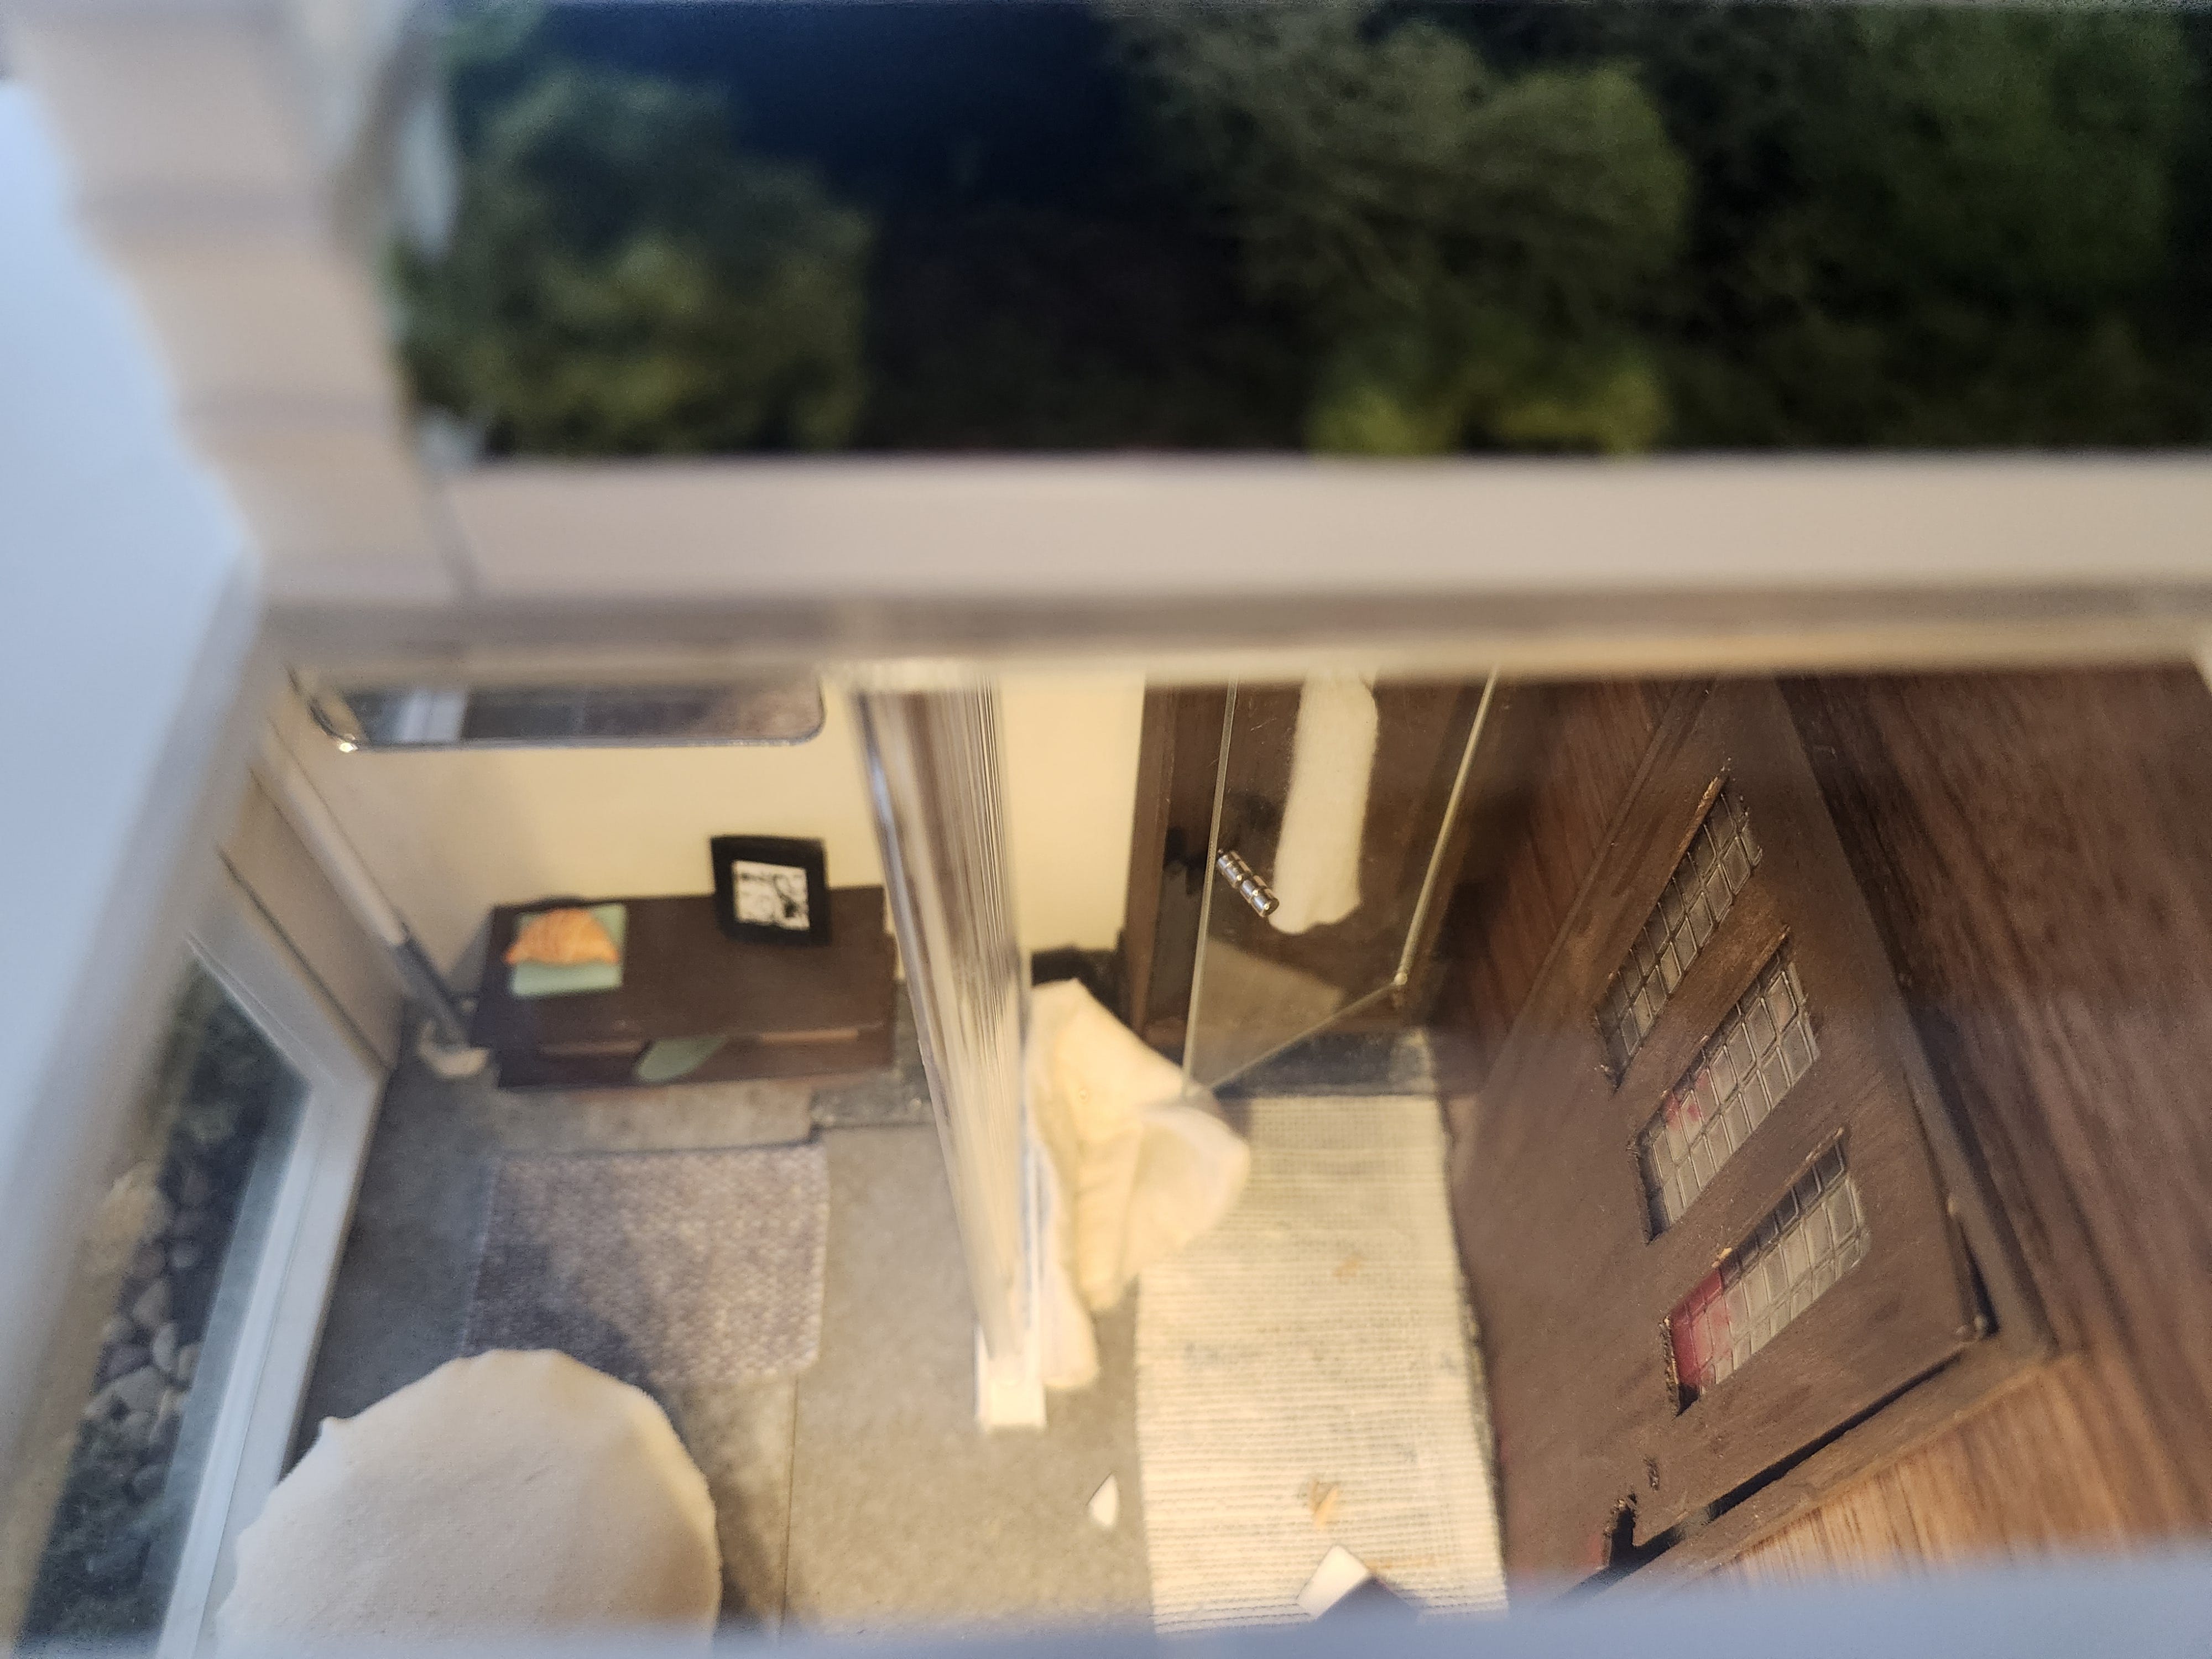
Stage 6 - The Garden and Exterior Features
The garden took the house to the next level. Otherwise, the color scheme and details were a little bland. I also added a wind chime made from beads, metal washers, and a broken necklace. Anything that would eventually hold fake water was coated in Mod Podge to seal it. Battery lights were fixed to the roof'/ceiling, because I didn’t want to deal with wires and drilling, for which I need additional training anyway. Also, battery options were what I had at hand.


I placed a vine on the side of the house. The actual vine was cut from a plant in my yard.


Water features! I mixed real dirt with glue to make the muddy tracks into the house.


Stage 7 - Rooftop Garden and Bug-out Bag
The final items on the house included a rooftop garden, which seemed necessary for visual balance, and a biohazard baggy and bug-out bag. The baggy was sealed with a bread twist-tie.


And that’s it! Done.
Come on inside.